

Website Live Chat
2 min read

To add live chat to a Wix site:
- Open Settings → Custom Code → Add Custom Code.
- Paste your chat snippet and name it.
- Choose All pages and Body – end.
- Apply and publish.
Custom Code requires a published site with a connected domain.
Before you start
- A published Wix site with a connected domain.
- Access to Custom Code in the dashboard.
- A published TrolyPage Website Chat channel and its complete snippet.
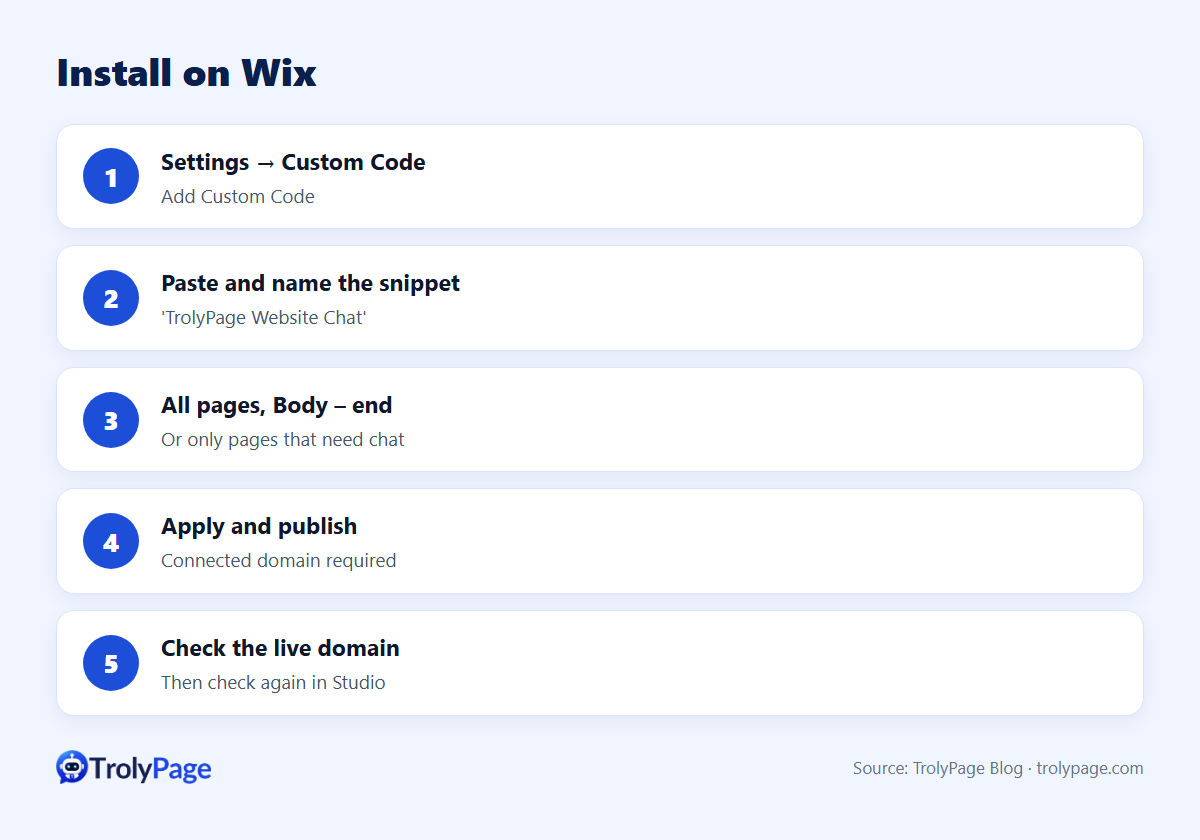
Step by step
- In your Wix dashboard, open Settings → Custom Code and select Add Custom Code.
- Paste the complete snippet from TrolyPage Studio.
- Give it a recognisable name, such as "TrolyPage Website Chat".
- Choose All pages (or only pages that need chat) and place code in Body – end.
- Apply and publish the site.
- Open the public domain in a private window, check the widget, then select Check again in Studio.
Guide: Install Website Chat on Wix.
Tips
- Wix's editor preview doesn't replace the live site for testing.
- If you use another chat widget, remove it first to avoid two chat bubbles.
- Set business hours and an away message so visitors know when to expect a person.
Make it smarter with AI
Assign an AI agent trained on your services, prices and policies to the website channel. It answers common questions immediately and hands off bookings, complaints and anything it doesn't know.
Test Wix live chat after publishing
Open the published domain as a visitor on desktop and mobile. Check pages where the widget should appear and any pages where it should stay hidden. Test the launcher alongside the cookie banner, sticky navigation and shop controls.
FAQ
Does it work on the free Wix plan?
Custom Code needs a connected domain; check your Wix plan's current Custom Code availability.
Can I show chat only on some pages?
Yes, choose specific pages instead of All pages in the Custom Code settings.
Written by the TrolyPage team. Updated November 2026.