

Website Live Chat
2 min read

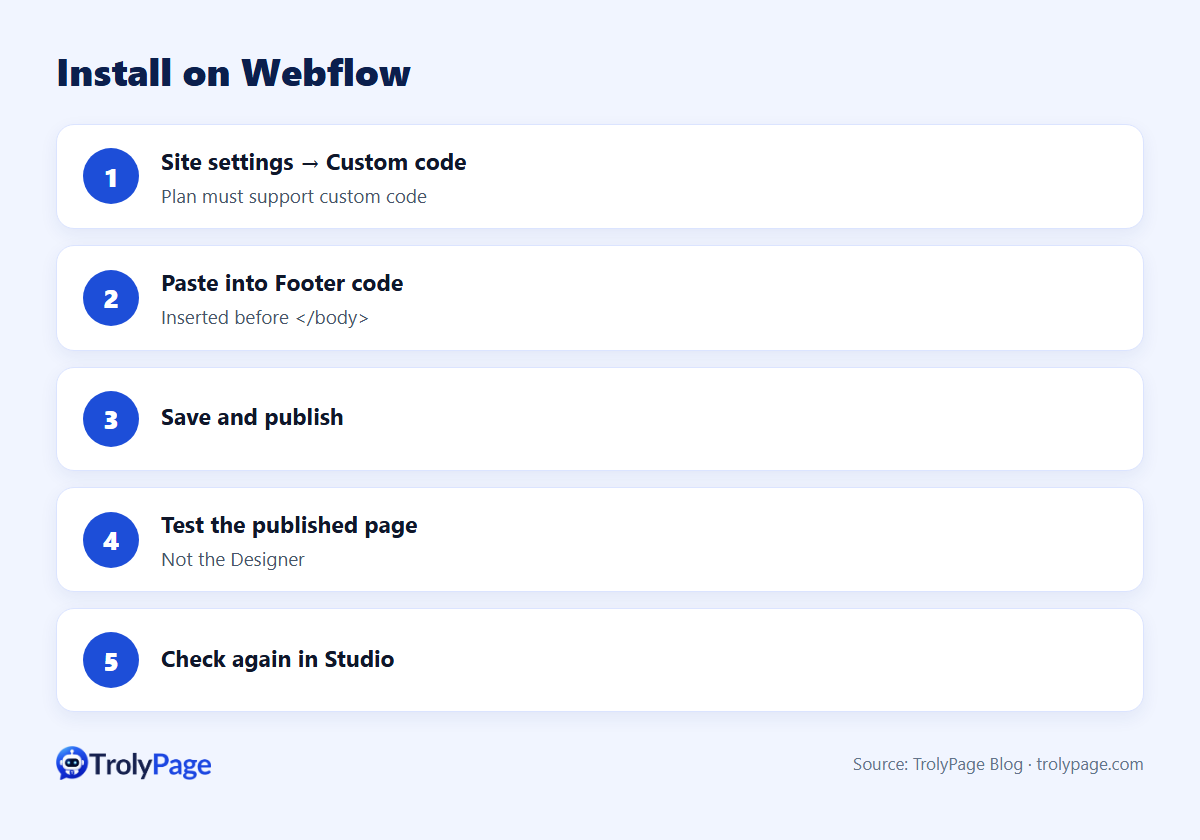
To add live chat to a Webflow site, paste your chat snippet into Site settings → Custom code → Footer code and publish. The footer field inserts the script before </body> on every page. You need permission to edit site settings and a Webflow plan that supports custom code.
Step by step
- Publish your Website Chat channel in TrolyPage Studio and copy the complete snippet.
- Open your Webflow project → Site settings → Custom code.
- Paste the snippet into Footer code.
- Save and publish the site.
- Open a published page (not the Designer), confirm the chat appears, then select Check again in Studio.
Guide: Install Website Chat on Webflow.
Page-specific installs
If chat should appear only on certain pages (pricing, contact), use the page settings' custom code area instead of site-wide footer code. Make sure the snippet appears only once per page.
Checklist
| Check | Why |
|---|---|
| Plan supports custom code | Otherwise the field isn't available |
| Site published after saving | Changes don't go live until you publish |
| Domain allowed in Studio | The widget only loads on allowed domains |
| No duplicate snippet | Avoids two widgets |
Turning chat into a sales tool
- Prioritise pricing and product pages.
- Give the AI agent your plans, features and FAQ, with a hand-off for demos and custom quotes.
- Route conversations to the same inbox as your social channels.
Test Webflow live chat after publishing
Publish to the intended domain, then test one static page and two entries in a CMS collection. A script added to the collection template can affect every entry, so repeat the test after changing templates or custom code.
FAQ
Does the Designer preview show the widget?
Test on the published site; previews may not run custom code like the live page does.
Is there a Webflow app?
It's a code installation; no native Webflow app is required.
Written by the TrolyPage team. Updated November 2026.