

Install Website Chat on Next.js
Load the widget in an App Router layout with next/script and values from Studio.
View the stepsWhere the code goes
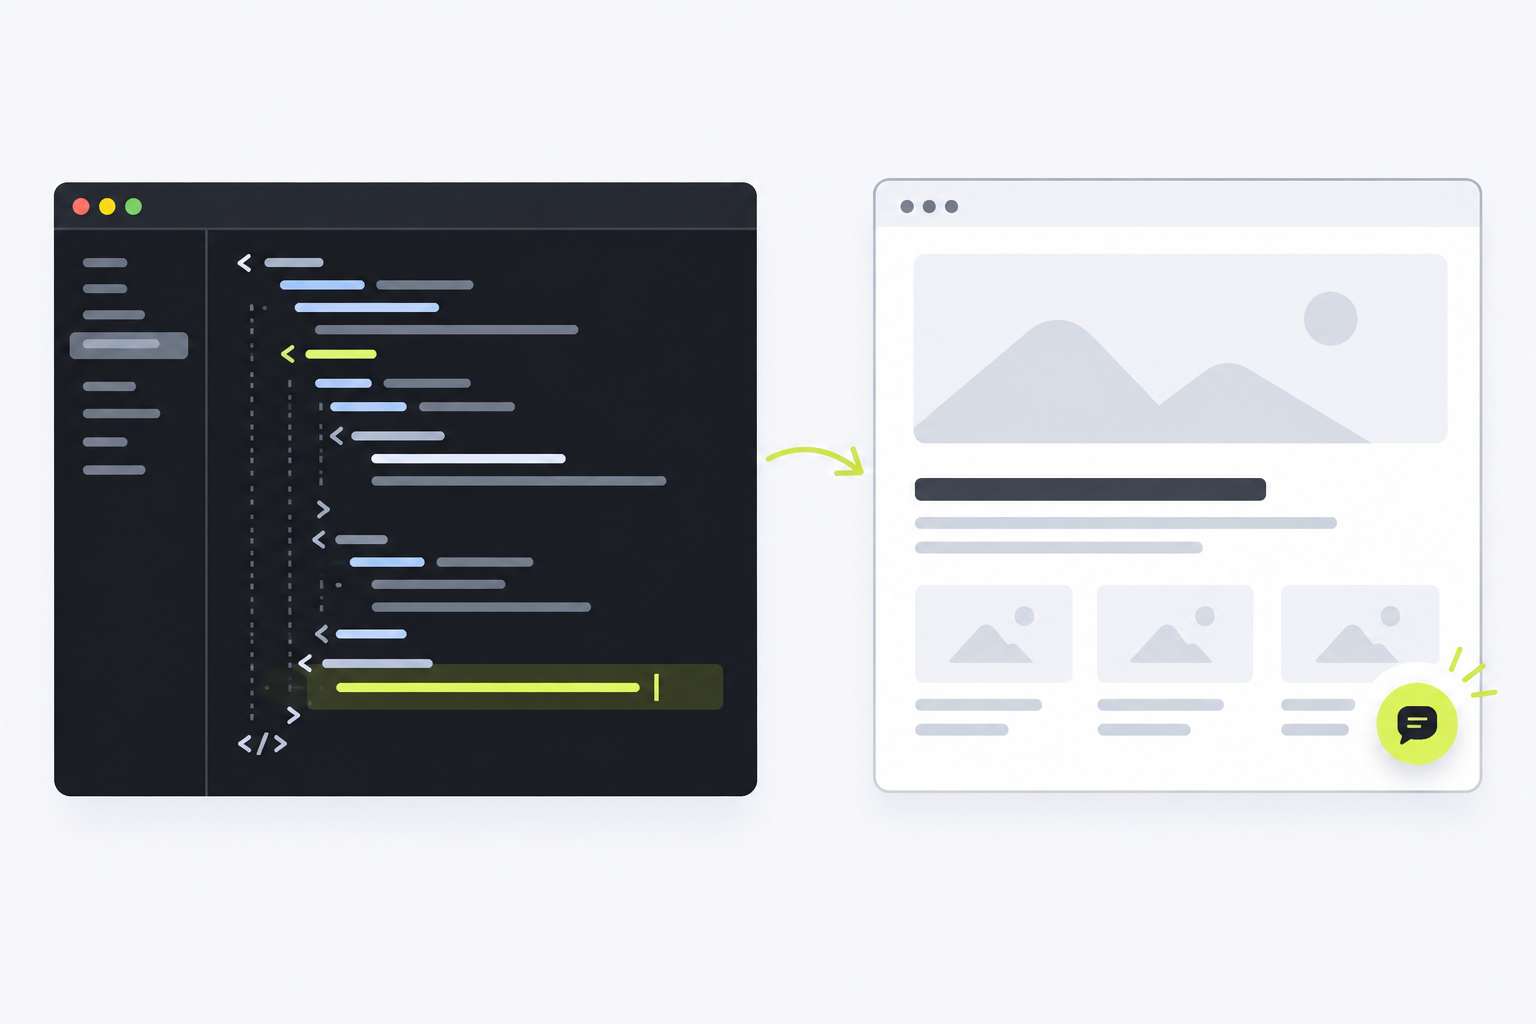
A map of the platform UI. Labels can vary slightly by version or account language.
- app/layout.tsx
- next/script
- afterInteractive
- Deploy
app/layout.tsx
<Script
  src="YOUR_STUDIO_WIDGET_SCRIPT_URL"
  data-token="YOUR_CHANNEL_TOKEN"
  data-server="YOUR_STUDIO_SERVER_URL"
  strategy="afterInteractive"
/>Follow each step.
Every step uses your channel’s real Website Chat snippet; the example on the overview page is not deployable.
-
Publish the channel in TrolyPage Studio and copy the installation snippet to obtain its exact src, data-token, and data-server values.
-
Open app/layout.tsx, import Script from next/script, and add one Script with strategy="afterInteractive" to the root layout.
-
Transfer src, data-token, and data-server from the Studio snippet to Script; render only one instance across the app.
-
Deploy, open a public route, check the widget, and select Check again in Studio.
App Router example
Replace all three values with those in your own channel’s Studio snippet.
import Script from 'next/script'

// Inside app/layout.tsx, within <body>:
<Script
  src="YOUR_STUDIO_WIDGET_SCRIPT_URL"
  data-token="YOUR_CHANNEL_TOKEN"
  data-server="YOUR_STUDIO_SERVER_URL"
  strategy="afterInteractive"
/>
Ask ChatGPT or Claude to install it
Works even if your website is not listed. Replace the placeholder with your Studio snippet, adjust the prompt if needed, then send it to an AI assistant with website access.
The button only copies; it does not send data. Without website access, the assistant should guide you. Never share admin passwords or API keys.
You can edit the text before copying.
Verify the installation
Open a public page with the snippet. Once the widget loads, return to your channel’s Install section in Studio and select Check again. Detection requires a signal from the live website.
Check in StudioIf the widget is missing
- Do not use example tokens from this article. A widget token is a channel-specific public identifier, not an administrator API key.
- Confirm the channel is Published and your website domain is allowed.
- Check that the snippet appears only once and is not blocked by cache, CSP, or script blockers.
- Open a public page in a private window, then select Check again; builder previews do not replace a live page.
Platform UI steps were checked against official documentation. This is a code-installation method, not a native TrolyPage plugin or app for that platform.
Read Next.js documentation